Showing posts with label tutorial. Show all posts

25 July 2023

Granny square beret pattern at my new Etsy shop

Hi all, let me introduce the Granny Square beret pattern

I thought that granny square beret pattern is suitable for someone who would like start with simple project and get great result! I worked with lovely cotton yarn, the linen yarn could be suitable as well for the project.


The pattern allows you to make either teen's, child's or women's hat.
It's available in 3 sizes: small, medium and large one. 

What do you need?
2 mm crochet hook for child size beret,
2.25 - for teen size beret, and
2.5 - for an adult one.

Yarn needed: 
50 (70, 90) gr - depends of the beret size.
Drops Safran by Garnstudio 174 yards / 50 gr or any cotton yarn with similar yardage.
I would be highly recommended to use cotton/linen yarn for summer projects to feel your body comfortable and breathable

How the pattern looks like?
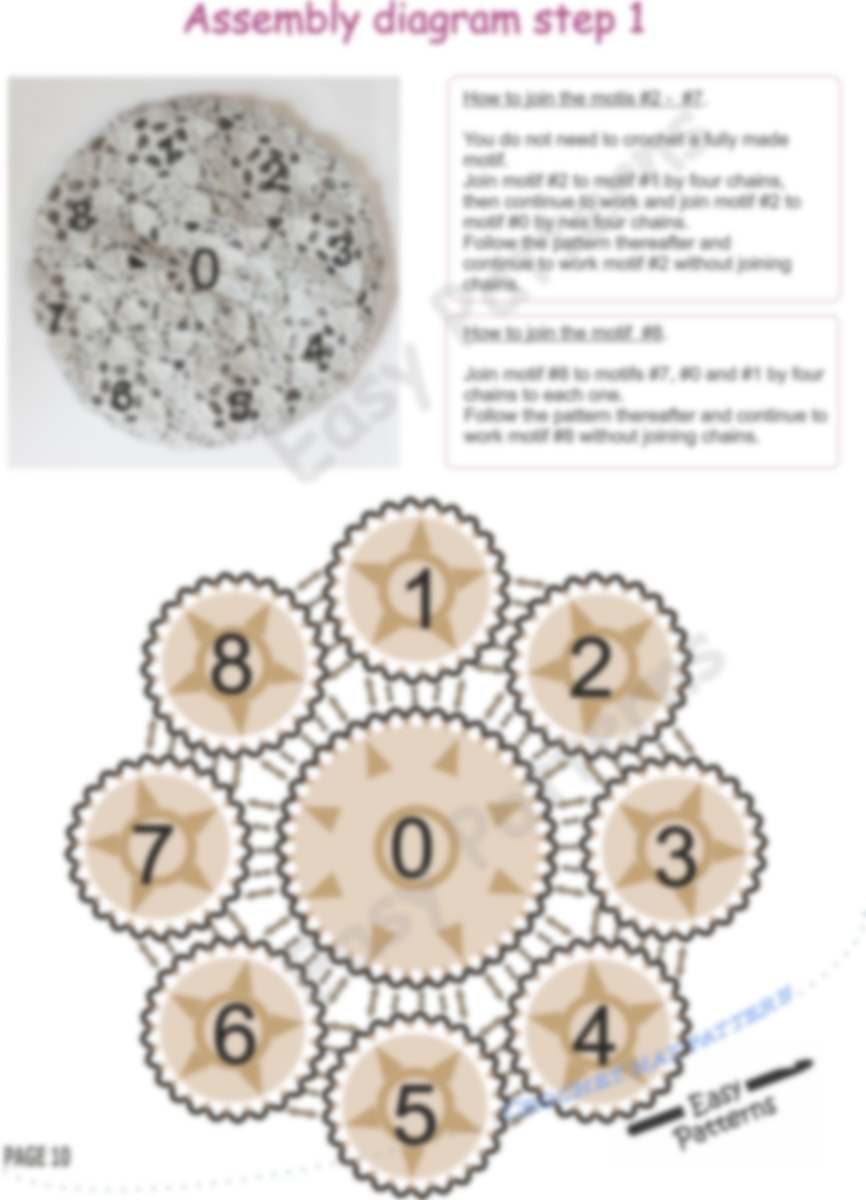
  • two motif written instructions accompanied with 
  • clear color charts
  • assembly diagrams,
  • how to join motifs tutorial,
  • hat band charts, a diagram, and
  • the hat band written instructions.


Some of page previews are looks like


The pattern is published at my new Etsy shop, welcome to try it!

Sincerely yours,
Nadia


23 May 2019

The garden hat Pattern

New pattern is released!
Super cute lacy garden hat to make this summer for you little one!

Treat your loved ones to a lovely eco friendly hat or even treat yourself!

The pattern includes 15 pages of :
  • two motifs detailed written instructions,
  • two motif charts,
  • assembly diagrams,
  • the written and chartered tutorial on how to join motifs,
  • hat band charts, diagrams and written instruction.


     The LINK TO PATTERN

17 May 2019

Doctor Who beret Tardis hat Pattern #2

Doctor Who hat Tardis hat pattern allows you to make either teen's or an adult hat. It's available in 2 sizes: medium and large one.
The women's beret pattern is easy for beginners.

The pattern includes: 
- step-by-step written descriptions,
- clear colored charts, 
- the hat band chart and written description.

Yarn: 70 (90)g either:
Naturally Soft cotton by Milla Mia 50g/165m/180yds OR
Drops Safran by Gamstudio 174yds (159m) 50g (1.76oz) OR
any kind of DK/sport yarn.


How the pattern look like? 


6 May 2019

Plus size dress pattern #6 Beach cover up

Hi guys, I'm glad to present the Plus size dress Beach cover up pattern.


The The pattern link  


The beach cover up pattern allows you to make a dress for women in sizes: S, M, L, XL, 2XZL, 3XL, 4XL, 5XL, 6XL and 7XL. The pattern includes 2 motif written descriptions, 2 motif charts, assembly diagrams, diagrams and written instructions on how to join motifs and how to crochet edgings.

27 April 2019

Play with grannies, make a Festival top. Pattern #5

Be ready for summer! This granny square top pattern is easy for beginners.
The pattern allows you to crochet the festival top in four sizes: 6XL and 7XL. you can make yourself a trendy sexy outfit.

Patterns for S, M, L, XL, 2XL, 3XL, 4XL, and 5XL sizes top are also available at my shop.

Crochet top pattern is easy for beginners. It includes:
- 2 motif written descriptions,
- 2 clear motif charts,
- assembly diagrams for each size listed and
- the diagram on how to join motifs. The way of joining is clearly described in the pattern.

The video tutorial link is included.

With this very detailed pattern, you will have an opportunity to develop your lace making skills! Come join us!
 

The S, M, L and XL sizes pattern

The XXL, 3XL, 4XL and 5XL size pattern

The 6XL and 7XL size pattern

Enjoy!


13 March 2017

Irish Crochet Dress Part 5. Leaves pattern / Вяжем ажурный листики для платья

Hi, I back to my promiss given at part 4.  Would you like to crochet leaves like I did? I designed 3 kind of leaves: 
  • the Laced leaf,
  • the Half-laced leaf and 
  • ordinary one. Please find pictures and charts below. 


Здравствуйте, мои дорогие читатели. Я возвращаюсь к обещанию, данному ранее. Если Вам понравилось  мое видео, Вам возможно захочется связать и листики, изображенные на заставке. Сегодня я могу поделиться с вами схемами этих листиков.  Я подготовила две схемы: первая - для ажурного, вторая - для полу ажурного.

A Laced leaf:
Ажурный листик выглядит так:
Half-laced leaf:
Полуажурный листик (дырочки с одной стороны):
An Ordinary leaf (top right on the picture):
И обычный листик (верхний справа):

All my patterns are here.

Enjoy!


21 August 2015

Poppy Meadow crochet handbag PATTERN / Сумочка "Маковый луг", декорированная ирландским кружевом

It feels like I've spent a decade on this pattern... I created the bag itself last year. I really enjoyed making it. Firstly, I made the circular base of the handbag (thank God that this wasn't my first time making a bag - I had experience with how to do this properly). I made a small pocket inside - vital for holding small items. I also added two magnetic clasps instead of a zipper. I succeeded at making sure that the handles were securely fastened to the bag and that they did not stretch. 
Ох, как долго я шла к этому паттерну... Саму сумочку я создала в прошлом году. Работая над ней, я получала настоящее удовольствие. Сначала создала круглую основу сумочки, благо это была не первая моя сумочка и опыт уже был наработан. Сумочка получилась со внутренним карманом для мелочей, двумя магнитными застежками. Крепление ручек - надежное, ручки - не растягиваются.
 

Оставалось только достойно украсить мое изделие. Я решила, что оно будет декорировано ирландским кружевом.  Затем связались маки: открытые, полураскрытые и бутоны. Добавились листики и колосок. Оставалось соединить детали в общую композицию и выполнить сеточку между ними.
I was then left with the last task: decorating. After some thought, I decided to use the Irish crochet technique, since I love its delicacy so much. Then I crocheted various types of poppies: ones with open flowers, half-open flowers, and closed buds. Leaves and the spike came next. Lastly, I had to arrange all of these motifs into a design and crochet an Irish crochet-style net in the space around them. 
Пока я вязала один мотив за другим, я делала наброски - схемы от руки. И это помогло мне в дальнейшем, когда я решила создать паттерн сумочки. Например, бутон мака состоит из трех частей: сам бутон, чашелистик и стебелек. Я показала это на картинке, создала схемы для всех трех частей и подробные словесные описания.
While I crocheted one motif after another, I made quick sketches of my work. This was what helped me later on, when I decided to create a pattern for this handbag. I showed my progress through images, created charts for all of the various parts of the handbag, and wrote detailed descriptions for the charts.

Пришло время соединять мотивы нерегулярной сеточкой. Мне стало известно, что для некоторых людей это самый трудный момент. Поэтому, создавая паттерн, я добавила ссылку, которая поможет вам с этим затруднением.
When it was time for joining the motifs with an irregular net, I discovered through crochet facebook group comments about my bag that the net itself was the most difficult part for some people to do. Because of this, I added a link to a video to my pattern to help those struggling with background netting.
Затем пришло время тестирования моего паттерна. Закончив тестирование, мы и мои тестеры убедились, что паттерн легко читается и легко понимается людьми даже с небольшим опытом вязания. 
Как выяснилось в последствии, в т.ч. и благодаря вам, мои дорогие подписчики. Маковая тема - очень благодарная почва для создания будущих произведений: топа, платья, подушечки или покрывала. В будущем я конечно же выложу эти паттерны для вас. Мы с вами нужны друг другу. 
Ссылки на паттерн - ниже.
Lastly, I asked a few people to test out the pattern - this was to see if I was clear enough in my descriptions. They helped me realize that my pattern was reasonably understandable even for beginners in crochet. I might use the poppy theme in other future projects  - and will, of course, share them with you- as the theme seems to be easy to implement into creating all sorts of crafts e.g. dresses, tops, pillow cases, blankets...

Here is links to the pattern: at my Rarelry store   or   
at my Etsy store  or at my Craftsy store  or at my Loveknitting strore

23 October 2012

How to make a "Romanian Cord" / Как связать шнур "Гусеничка"


Hello! Today I was looking at pictures of the Irish Crochet Lace and caught myself thinking that I never saw any of the modern elements, which are widely used by Russian_Masters. I mean the cord "Caterpillar". It wonderfully suits for making the border of a future top, handbag, etc. , and also for decorating the work itself.

Здравствуйте! Сегодня я разглядывала фоточки старинных Ирландских Кружев и поймала себя на мысли, что мне ни разу не встретился один из современных элементов, который широко используется русскими мастерами. Я имею ввиду шнур "Гусеничка". Он великолепно подходит для прокладывания контура по краю изделия, а также для декорирования самого изделия.
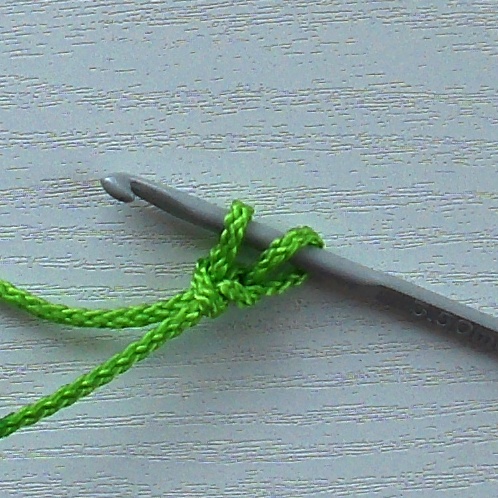
Would you like to make this Cord? Step 1. Begin with chain 2. 
Вы хотели бы связать такой же? Шаг 1. Тогда начнем с цепочки из 2-х воздушных петель.
Step 2. Work as shown,
Шаг 2. Введите крючок как показано на картинке
Step 3 ... coach a tread and make a loop. We got 2 loops on the hook.
Шаг3 ... захватите нить и вытяните петлю. На крючке две петли.
Step 4. Coach a tread and make a loop. We made a single_crochet.
 Шаг 4. Захватим крючком нить и протянем. На крючке одна петля. Мы связали столбик без накида.
Step 5. Turn_left the work. Enter the hook under the marked loops as shown.
Шаг 5. Поверните вязание влево (против часовой стрелки). Введите крючок под петельки, отмеченные на фото.
Step 6. Coach the tread and drawn through them only. We got 2 loops on the hook.
Шаг 6. Захватите нить и протяните только через отмеченные на фото петельки. На крючке 2 петли.
Step 7. Turn left the work as shown.
Шаг 7. Опять поверните вязание влево (против часовой стрелки).
Step 8. Enter the hook as shown. Work single crochet.
Шаг 8. Введите крючок как показано на фото. Провяжите столбик без накида.
Аlternate step 7 and step 8, continuing to make the Cord.
Чередуйте шаги 7 и 8, продолжая вязать, пока не достигните необходимой длины шнура.


Finaly, how to apply a Romanian Cord, please find at Poppy Meadow Handbag

You can find my craft here ravelry store  or  Etsy Strore